For many hockey players, taping their hockey sticks is a precious ritual for them. Though there isn’t one correct way to tape a hockey stick there are basics and commonalities that are seen throughout which can help improve a player’s touch and feel for the puck on the ice.
TABLE OF CONTENTS
– What Are The Items Required For Taping A Hockey Stick?
– How To Tape A Hockey Stick?
– Taping Stick Blades
– Hockey Stick Taping Patterns
– Waxing The Stick Blade
– How To Tape The Shaft Of A Hockey Stick?
– How To Tape The Handle Or The Butt End Of A Hockey Stick?
– Why Do Players Tape Their Hockey Stick?
– When To Re-tape A Hockey Stick?
Before taping a hockey stick you must gather the necessary items. Besides a hockey stick, you will need the following:
Hockey stick tape. This tape is made specifically for playing hockey as it’s designed for better grip and prevent moisture build-up, so you shouldn’t use anything but hockey tape. It’s primarily made of polyester/cotton.
Scissors. Not necessarily needed, as an individual can just rip the hockey tape, but scissors will be required if you want to tape the toe of your blade.
Hockey stick wax. Substitutes can be candle wax and even baby powder but proper hockey stick wax is preferred.
There are typically three parts of a hockey stick that can be taped. The blade which is the part of the stick that is curved and touches the ice, it is also the bottom of the stick. The shaft, which is the majority of the stick area, a player’s bottom hand grips the shaft of the stick. Finally, there is the handle or the butt-end where a player’s top hand is placed on the stick, which is the top of the stick. There really is no difference between the shaft and butt-end of a stick. But the butt-end is just the top of the stick and is a frequently taped-up area.
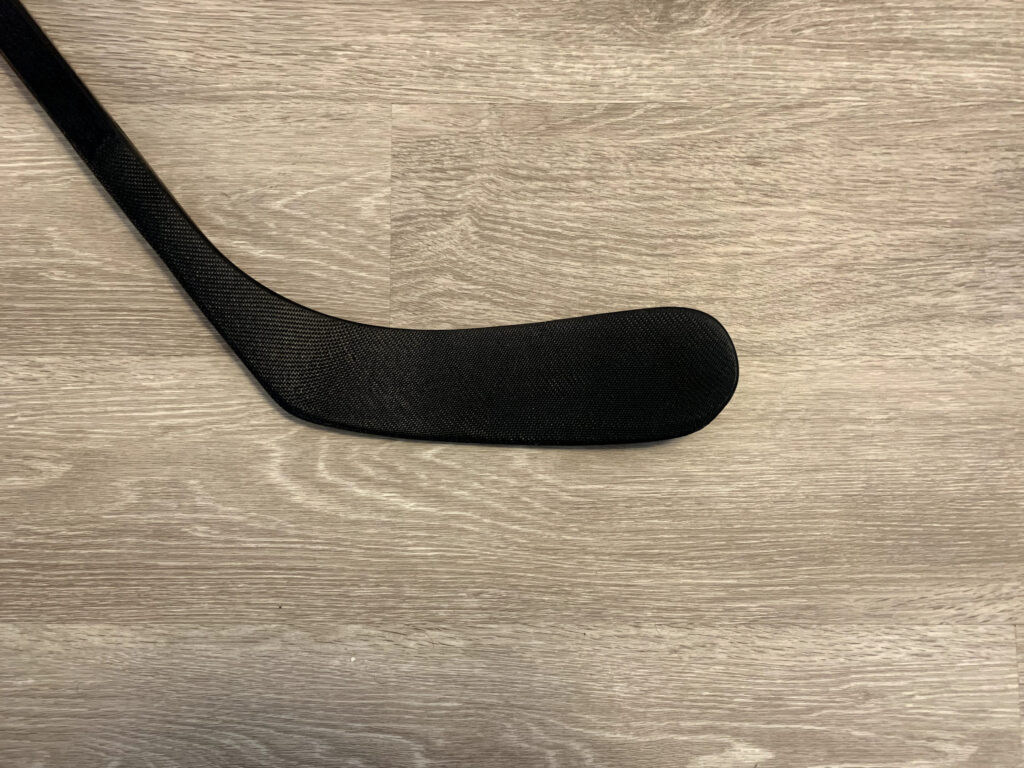
This is arguably the most important part of the hockey stick and is the most obsessed over because the blade touches the puck. A player’s tape job affects how the puck feels. How a player catches and releases the puck, and how stickhandling feels.
The stick blade is also part of the stick tape that varies in colour the most. The most typical colors are black and white hockey tape but many pro hockey shops have a variety of tape colors and patterns to choose from. Most professional-level players stick with white or black tape. Many routinely switch if they don’t score a goal in a game or switch if they’re on a dry streak and need to change things up.
The first step is to decide which direction you want to tape in. You can go in the direction of heel-to-toe or toe-to-heel. Then, decide on the starting point and start taping. Regardless of the direction you go in, you must ensure that the wrapping is firm but smooth, you don’t want any nicks and ridges in the tape, and you must ensure the spacing between the wraps is symmetrical. This gives a consistent feel when passing and shooting the puck.
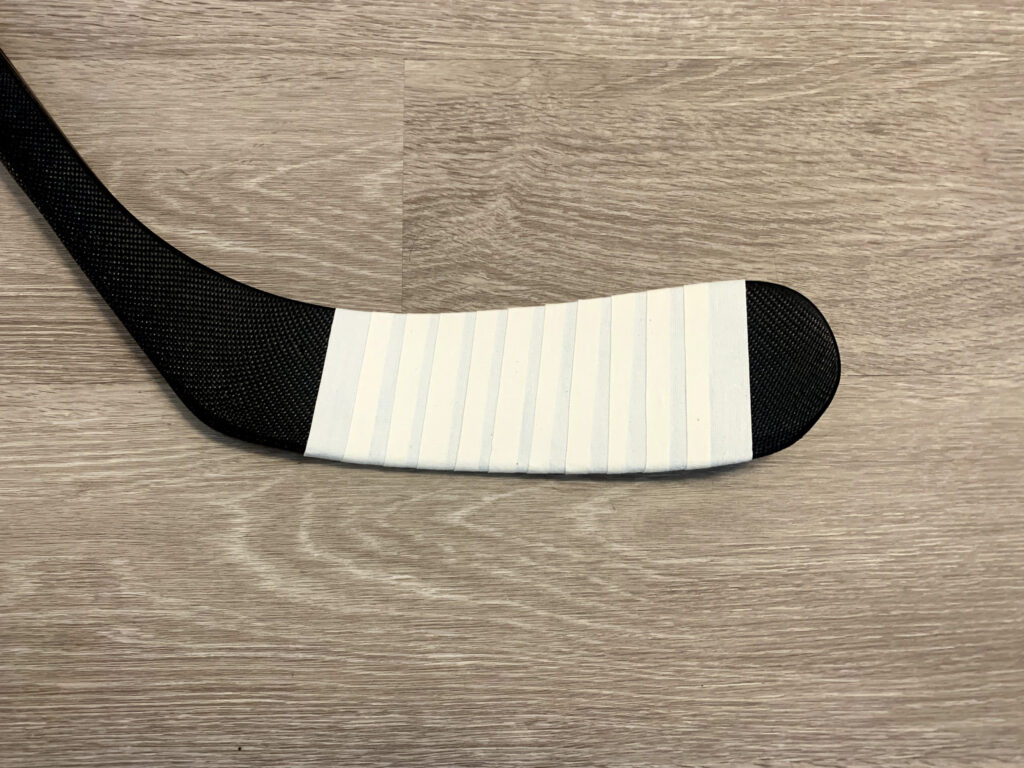
The Classic: As the name implies this is the standard tape job. The wrapping runs heel-to-toe. It starts at the heel and ends with the toe exposed.
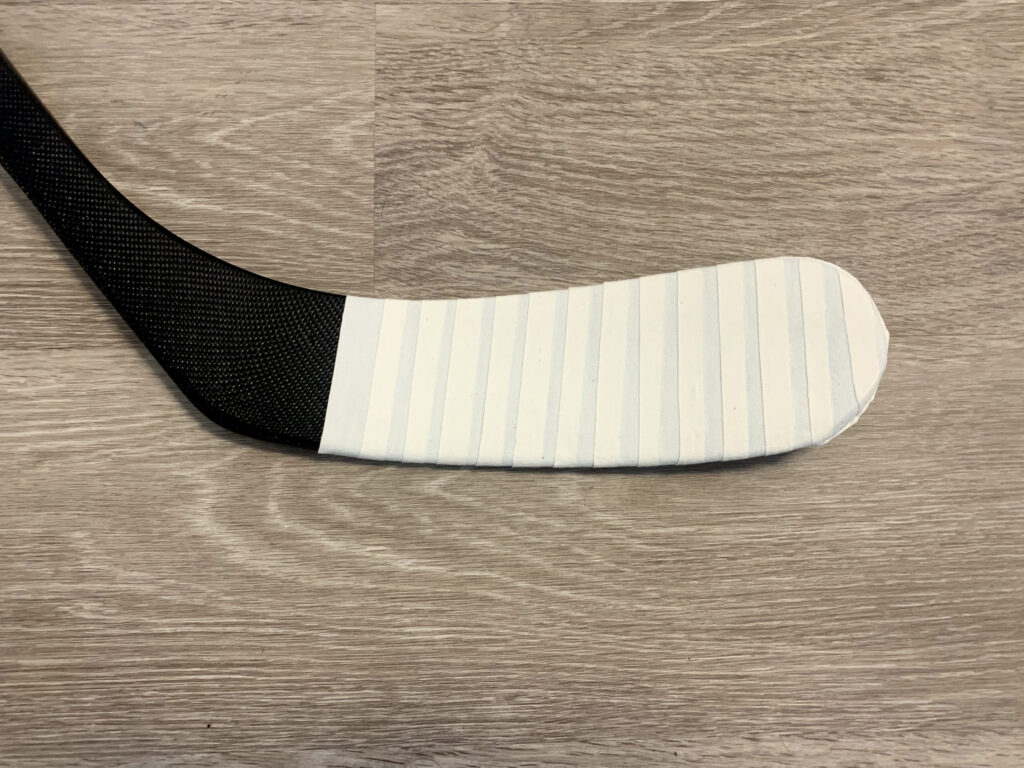
The Sock: It’s the classic tape job but instead of ending before the toe of the blade begins to curve you keep going and tape the entire blade. A pair of scissors should be utilized to trim the excess tape off the toe to ensure that the tape perfectly wraps around the edges. If done correctly, the blade should be completely covered with tape.
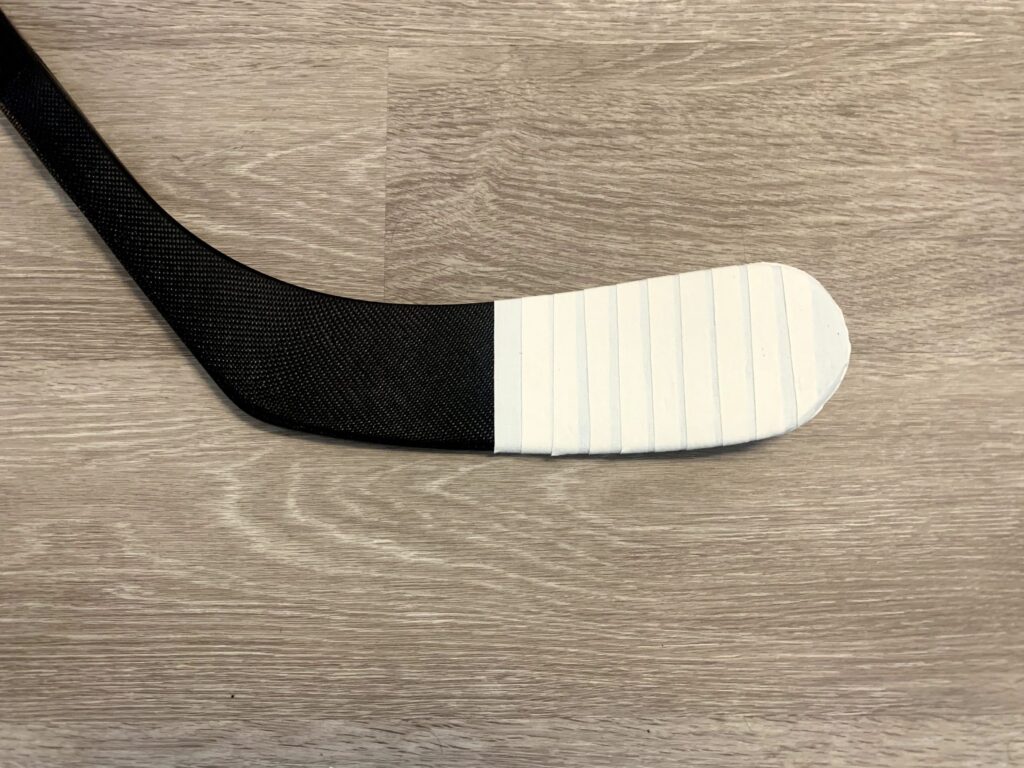
The Toe Tape Job: Similar to the sock but instead of starting at the heel of the blade you begin around the mid-way point and fully wrap the blade and toe.
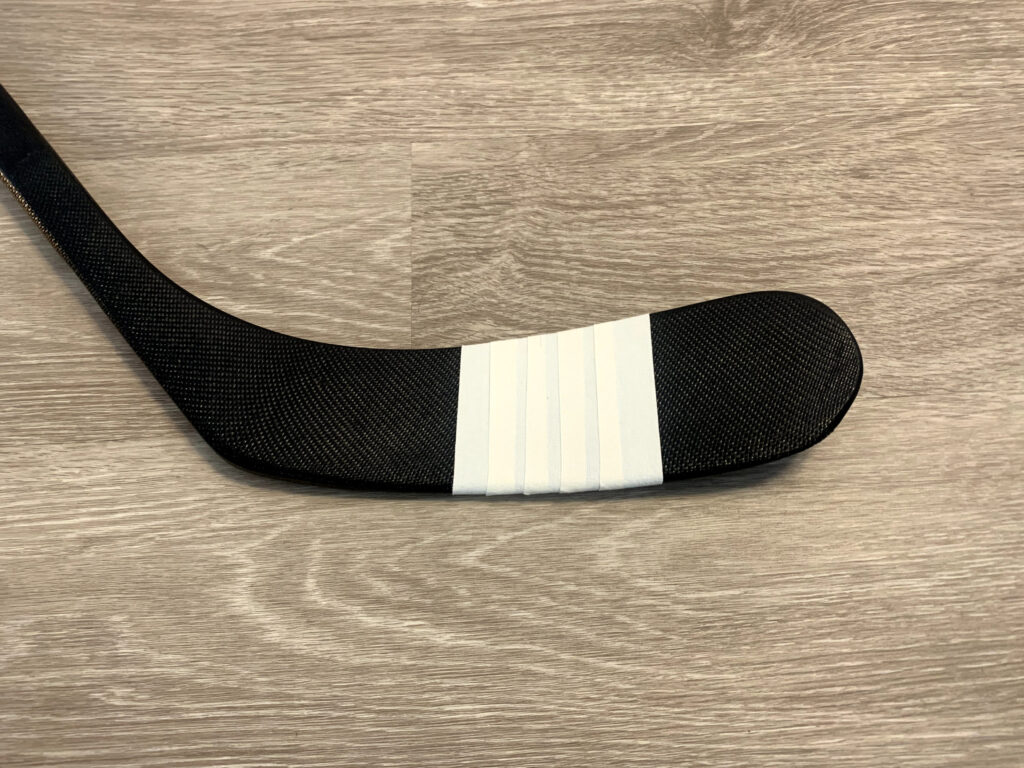
The Band Aide: This tape job simply tapes the middle of the blade and that is it. The heel and toe of the blade are exposed. This is typically the tape job that employs the least amount of tape. The number of wraps is usually between 3 to 6.
After taping the stick many players wax it as well. Waxing adds a protective sticky layer onto your tape blade for better puck control and reduces moisture build-up. Be careful though, too much wax on your blade and the puck will stick too well to it. Passing and releasing the puck will become more forceful and less smooth which is not the outcome we want to achieve.
When waxing your stick keep it simple and put on as little as possible. A few strokes on both sides of the blade should suffice, but it is up to personal preference because there is no right answer.
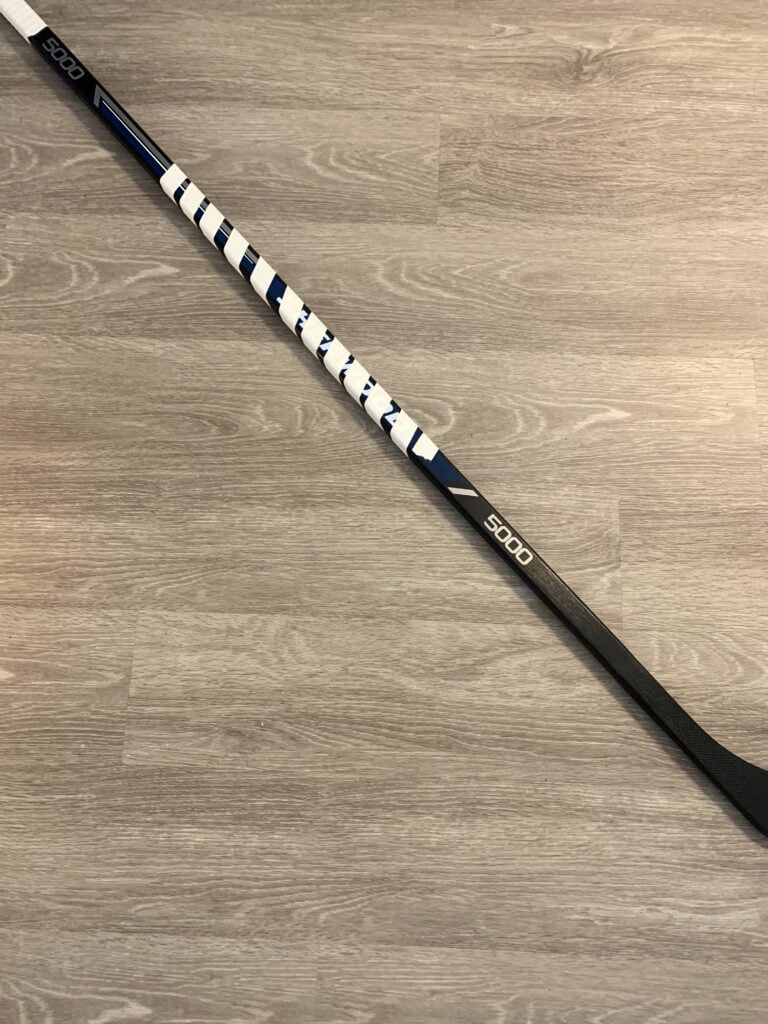
This is the part of the stick that is most likely not taped. Most sticks are manufactured with some type of grip on the shaft. The shaft is where the player places their bottom hand on the stick. Some players prefer the ability to easily remove and slide their hand along the shaft and too much grip prevents this from happening. However, many players prefer to tape the shaft of their stick and the traditional method is the candy cane. As the name implies, the candy cane method is simply wrapping your stick shaft, from one end to the other, with no overlapping, unlike when you tape the stick blade.
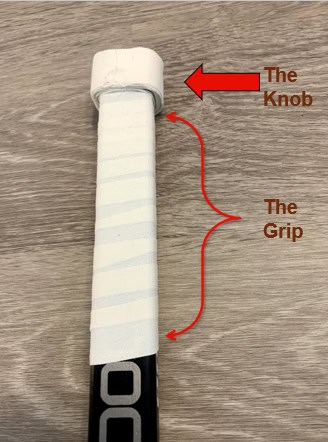
Taping the handle or the butt end of a stick is a critical part of the stick because this is essentially where the player controls the stick from. Players frequently take their bottom hand off their stick to do things like poke check, protect the puck and even skate as fast as possible so the handle must be as comfortable as possible.
Just as with the other parts of taping a stick. There are many variations and there is no right answer. A stick’s handle is essentially composed of two parts. The first is the knob which is the top part of the stick. This is the part of the handle that will vary the most. Big knob, small knob, wide knob and skinny knob are all variations, but the choice is ultimately up to the individual and what feels the most comfortable. The second part of the handle is the grip part, Tape this part of the stick the same way as the stick blade. You want consistency between the wraps and you want some degree of overlapping.
Almost all players use some sort of tape on their stick and for good reasons because there are numerous benefits to it:
– To prevent wear and tear.
– Hockey tape on the blade prevents moisture and ice build-up.
– To create and increase grip.
– Tape on the stick blade allows for more of a cushion feel when receiving the puck.
– For better control when catching and releasing the puck as well as stickhandling.
Hockey is a fast-paced game. Sticks endure cold rubber pucks, solid boards and sharp skate blades regularly and hockey tape isn’t immune to this damage and a new tape job should occur. So, whenever there are holes and splits on the tape, it’s wise to replace it.
Time along with moisture variations can lead to a lot of tape residue when removing tape. Make sure to get rid of all the leftovers before re-applying any tape to ensure a smooth surface. Rubbing your stick along a rubber ground, a common flooring for most dressing rooms, or running it through warm water will help.
RELATED ARTICLES